10 Soil Preparation Tips for the Best Soil Sample
Obtaining reliable data from your soil starts long before you collect the first sample. Whether you’re testing for nutrients, contaminants, or structural composition, your results are only as good as the condition of the soil you sample. Poor preparation—like sampling too soon after a rain or disturbing the surface beforehand—can compromise accuracy and lead to decisions based on incomplete or misleading reports.
To help your sampling efforts pay off, we’ve put together soil preparation tips for the best soil sample. These simple steps apply to a variety of soil types and sampling purposes, from agriculture to environmental assessments, and can help you collect cleaner, more representative results.
1. Know Your Sampling Goal
Before preparing the soil, clarify your sampling objective. Different goals require unique preparation strategies. For example, if you’re testing nutrients, avoid sampling soil that was recently fertilized. If you’re checking for contamination, steer clear of areas that have already been disturbed or remediated. Your sampling goal determines when, where, and how to prepare the soil, helping you avoid introducing conditions that could skew the data.
2. Let the Soil Settle
If the sampling area has been recently tilled, excavated, or otherwise disturbed, give the soil time to resettle before collecting samples. Freshly disturbed soil doesn’t reflect its natural structure or nutrient distribution, and sampling too soon can lead to inaccurate results.
Depending on site conditions, soil may need several days or weeks to stabilize. Waiting ensures your sample reflects long-term field conditions rather than recent disruptions.
3. Wait for the Right Time
Timing is crucial when it comes to preparing the soil. Sampling when the soil is too wet, frozen, or overly dry makes preparation harder and can result in inaccurate data. Ideally, the soil should be moist but not soggy. It should crumble easily without sticking or breaking into dust.
Avoid collecting samples right after rainfall or irrigation. Give the soil time to return to a balanced moisture level for a more workable and representative sampling area.

4. Check Soil Moisture Levels
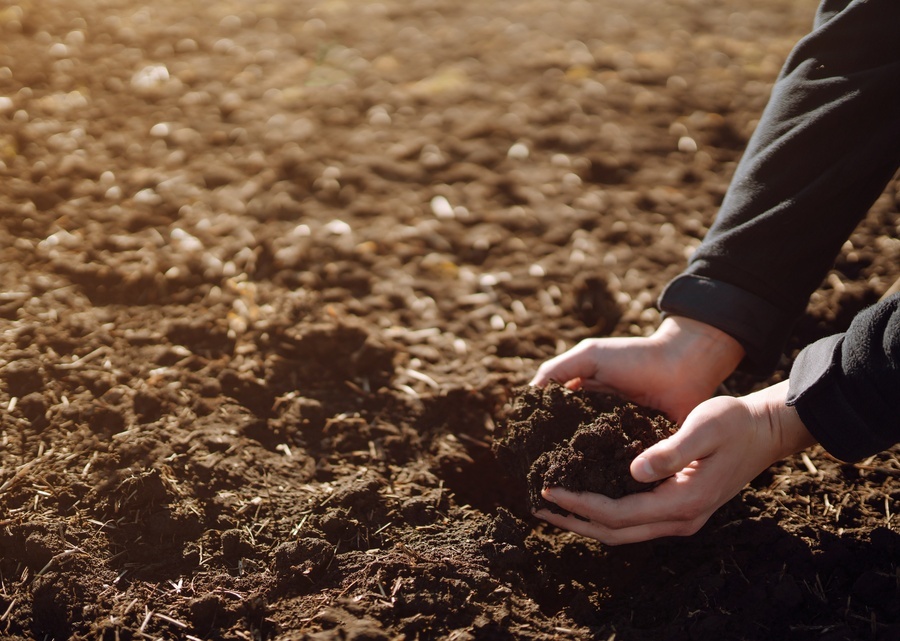
Even if the timing seems ideal, always test the soil’s moisture directly. Take a small handful of soil from your target area and squeeze it. If it forms a tight ball and leaves moisture on your hand, it’s still too wet. If it crumbles to dust, it’s too dry.
A well-prepared sampling site will have soil that holds together loosely with little residue. Use this quick field test to confirm conditions and adjust timing or location if necessary.
5. Account for Slope and Drainage
Topography and drainage patterns influence how water, nutrients, and contaminants move through the soil. Areas with poor drainage or high runoff may not be suitable for representative sampling unless those features are part of what you’re testing.
When preparing sloped or uneven ground, avoid low areas where water collects and high spots that dry out faster. Aim for stable mid-slope zones where soil conditions are more consistent.
6. Identify Representative Zones
Mark the areas that best represent overall site conditions. This step is especially useful in large or varied landscapes, where soil composition, vegetation, and usage may differ.
Avoid obvious problem zones like eroded patches, puddled low spots, or areas that were recently treated. Preselecting representative zones allows you to better prepare the soil in those areas, improving the reliability of your results.
7. Avoid Disturbing Sampling Areas
Any disturbance to your intended sampling areas can affect the integrity of your data. Try to avoid walking, driving, or tilling over the soil where you plan to collect samples. Foot traffic and equipment can compact or mix soil layers, altering its natural structure.
If you must clear vegetation, do so carefully, leaving the soil profile intact. Keeping your sampling area as undisturbed as possible ensures that the sample reflects real field conditions.

8. Clear Surface Debris First
Surface materials like mulch, leaves, sod, or rocks can interfere with obtaining a clean sample. Removing these materials ensures that you’re sampling the soil itself, not what’s sitting on top of it.
Clearing debris might include removing crop residue from fields or relocating mulch or decorative gravel in landscaped areas. The goal is to expose the topsoil without disturbing its structure so that your sample accurately reflects actual site conditions.
9. Loosen Compacted Topsoil
Compacted soil caused by traffic, livestock, or machinery can prevent proper sampling. Before sampling, gently loosen compacted surface soil with a hand tool, being careful not to disturb deeper layers or mix horizons.
The light loosening allows sampling tools to penetrate to the desired depth and collect intact samples. If compaction is severe—such as in high-traffic or developed areas—look for nearby undisturbed soil as an alternative.
10. Confirm Sampling Depths in Advance
Not all sampling requires the same depth, so verify the correct depth for your project before preparing the site. Whether you need surface soil for agricultural testing or deeper subsurface samples for geotechnical or environmental purposes, your approach will differ.
Once you know the sampling requirements, prepare the area accordingly. This may involve marking tools for depth accuracy or confirming that the selected location allows you to reach the needed depth. This step helps you avoid mistakes and ensures that your sample meets your project’s standards.
The Last Step That Matters
Following these soil preparation tips for the best soil sample can make a noticeable difference in the accuracy and reliability of your sampling results. Proper preparation guarantees that your sample reflects the current soil conditions, not temporary changes or surface irregularities. Whether you’re analyzing nutrients, contaminants, or structure, the quality of your data depends on how well you prepare the site.
While you’re waiting for ideal sampling conditions—like when the soil has dried out or had time to settle—it’s a good time to clean and inspect your soil sampling tools. Make sure to remove residue from past use to avoid contamination, and check that your equipment is in working condition before heading to the field.
If you’re in the market for reliable tools to support your next sampling job, we’d be happy to help. We offer a variety of soil probes, augers, core samplers, and more, all designed to meet the specific needs of agricultural, environmental, and geotechnical testing. No matter the conditions, we’re here to help you collect clean, accurate samples with confidence.
Recent Posts
-
Selecting Soil Sampling Tools for Contaminated Site Work
Selecting the right tools for contaminated site work lays the groundwork for valid data and successf …December 10, 2025 -
10 Reasons Testing Groundwater Is Important
Groundwater is one of the most valuable resources we have. It provides drinking water for millions a …November 20, 2025 -
Why You Should Regularly Check Termite Bait Stations
In industries such as agricultural or groundwater management, unseen threats can quietly undermine y …November 12, 2025


