A Look at Proper Hay Sampling Techniques
Hay quality can vary more than you might expect—even within a single cutting. One bale might be leafy and nutrient-dense, while the next is dry or overly stemmy, despite coming from the same field. This variability is why hay testing is crucial. It eliminates the guesswork from feeding and ensures your animals receive the nutrition they need.
Just as critical as testing itself is how the sample is collected. With that in mind, let’s take a look at proper hay sampling techniques, focusing on practical steps that produce trustworthy results.
Determining When To Sample
Timing is everything in hay sampling—just like with harvesting or baling. Sample too soon, and the moisture levels may not reflect the hay’s final condition. Sample too late, and you may already be feeding or marketing it before the test results are in.
The ideal time to sample hay is after it has cured and before it’s fed or sold. If you’re marketing hay, test it beforehand so buyers can see accurate nutritional data. For stored hay, allow at least two weeks for the bales to stabilize before testing; this ensures your results reflect the hay’s storage condition rather than its freshly baled state.
Avoid sampling right after rainfall or while the hay still holds surface moisture. Moisture readings can be distorted, and mold risk may appear falsely high. Always wait until the hay is dry to the touch and stored under normal conditions before sampling.
Choosing the Right Bales
A reliable hay test begins with selecting a representative sample of bales. The goal is to capture an accurate average of the entire lot, not just a few conveniently located bales.
Start by identifying your lot. A hay lot is defined as a group of bales that are similar in type—same cutting, field, and storage conditions—and typically shouldn’t exceed 200 tons. If your bales come from different cuttings or fields, treat each group as a separate lot.
Skip bales from the outer edges of the stack or those that appear damaged, moldy, or unusually wet. The goal isn’t to find the best or worst bale—it’s to sample a fair cross-section of what your livestock will be eating.
Using the Right Tools
Once you’ve selected the appropriate sampling time and bales, it’s important to use the correct tools. While several methods exist, the most consistent and accurate results come from a hay core sample tool.
A hay probe sampler is a hollow tube that attaches to a drill. You insert the probe into the bale–typically from the end–to collect a core sample from deep inside. Unlike grabbing hay by hand, a probe reaches the interior, where factors like moisture, leafiness, and maturity are most accurately represented.
When choosing a sampler, pay attention to the core diameter. Tools with a cutting inside diameter between 3/8 in. (9.53 mm) and 5/8 in. (15.88 mm) tend to yield the most consistent results. Smaller diameters may not gather enough material, while larger ones can be harder to operate effectively.
Also consider the cutting mechanism. While auger or corkscrew styles may appear convenient, they can distort the sample by favoring either fragile leaf particles or tougher stems. This imbalance can misrepresent the hay’s overall nutritional profile.
Choose a sampler designed for your bale type, whether round or square. Some models come with built-in collection tubes that catch the hay as you drill. This feature isn’t essential but can make the job faster and more efficient.
Taking the Sample
With your equipment ready and bales chosen, it’s time to collect your samples. Follow these best practices to ensure a solid, representative test.
Collect 10–20 Core Samples Per Lot
Consistency is vital to accurate results. The National Forage Testing Association recommends pulling at least 20 cores per hay lot. For larger or more variable lots, 30 or more samples may be necessary. If your lot is small (fewer than 20 bales), aim to sample every bale.
Sample the Same Area on Each Bale
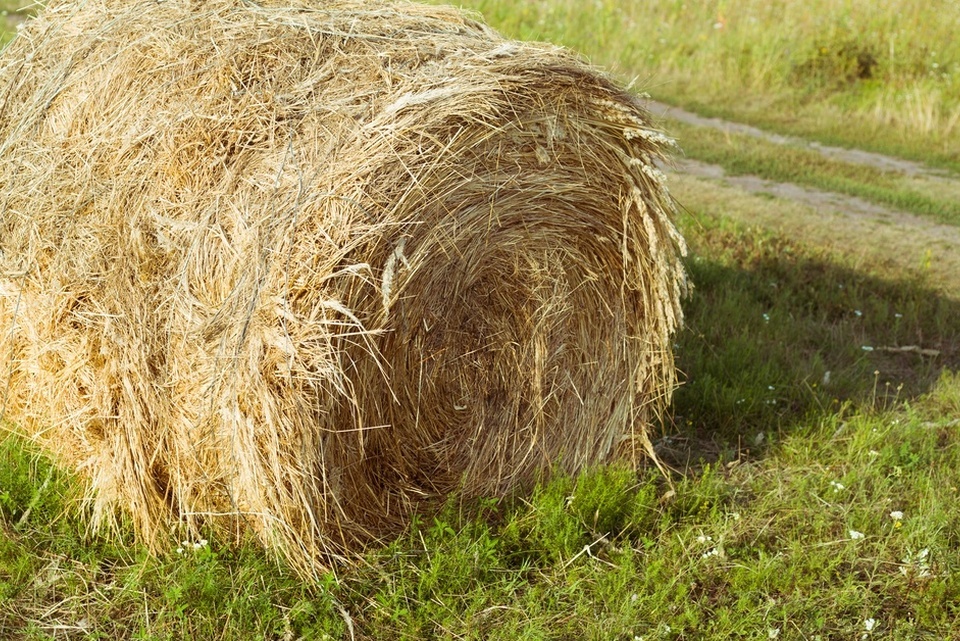
For small square bales, insert the probe into the center of the cut end—between the twines—at a 90-degree angle. For large round bales, drill into the curved side, aiming toward the center. This technique ensures you’re reaching the bale’s core, not just the outer layers.
Whether using a hand brace or a power drill, maintain a clean, straight entry. A perpendicular approach reduces tool strain and improves sample quality. Aim to drill 12–18 in. (30.48–45.72 cm) deep to capture a full cross-section of the bale.
Aim for a Composite Sample
After collecting your core samples, confirm that the combined weight is about half a pound. If it’s heavier, use the cone-and-quarter method to reduce it. This ensures you’re sending a manageable, representative portion to the lab.
Mix Your Samples
Place each core in a clean, sealable container, such as a plastic bag or a small bucket. Don’t send individual cores; instead, mix all samples from the lot into a single composite. If you use bags, double-bag your sample to prevent contamination and protect it during transport.
Label Clearly
Before submission, label your sample with key information: cutting date, field name, and storage method. This helps match the results to the specific batch of hay you’re evaluating or marketing.
Send Promptly
Ship your sample to a certified forage lab as soon as possible. Delays can alter the moisture content and affect the accuracy of results. Until it’s shipped, store the sample in a cool, dry place out of direct sunlight.
Avoid Splitting Unground Samples
It might be tempting to divide an unground sample to send to multiple labs, but this can lead to uneven test results. Leaf and stem distribution can vary significantly between portions. If comparative testing is needed, request the ground sample back from the lab or grind it yourself before dividing.
In Conclusion
One final takeaway: consistency is everything. Skipping steps or rushing through the process can compromise your results. A well-collected, properly mixed sample gives you a clearer picture of the hay’s nutritional content—and it starts with implementing proper hay sampling techniques.
If you’re ready to make hay sampling more efficient, we have the probes to support you. We offer dependable, easy-to-use hay sampling tools built for the demands of your operation, whether you’re pulling one sample or twenty. We’re here to help you get the job done right, every time.
Recent Posts
-
Selecting Soil Sampling Tools for Contaminated Site Work
Selecting the right tools for contaminated site work lays the groundwork for valid data and successf …December 10, 2025 -
10 Reasons Testing Groundwater Is Important
Groundwater is one of the most valuable resources we have. It provides drinking water for millions a …November 20, 2025 -
Why You Should Regularly Check Termite Bait Stations
In industries such as agricultural or groundwater management, unseen threats can quietly undermine y …November 12, 2025

